前言 Springboot让Java开发更加美好,本节主要讲的是使用Hikari数据库连接池,如果需要使用druid连接池的请看我另外一篇博客,springboot Mybatis 整合 (这篇文章有详细搭建springboot项目的过程,对于刚接触springboot的新手有帮助)。
为什么使用HikariCP 在Springboot2.X版本,数据库的连接池官方推荐使用HikariCP ,官方的原话:
Production database connections can also be auto-configured by using a poolingDataSource. Spring Boot uses the following algorithm for choosing a specific implementation:
We preferHikariCP for its performance and concurrency. If HikariCP is available, we always choose it.
Otherwise, if the Tomcat poolingDataSourceis available, we use it.
If neither HikariCP nor the Tomcat pooling datasource are available and ifCommons DBCP2 is available, we use it.
意思是说:
我们更喜欢HikariCP的性能和并发性。如果有HikariCP,我们总是选择它
否则,如果Tomcat池数据源可用,我们将使用它。
如果HikariCP和Tomcat池数据源都不可用,如果Commons DBCP2可用,我们将使用它。
那么如何使用HikariCP呢?
如果你的springboot版本是2.X,当你使用spring-boot-starter-jdbc或者spring-boot-starter-data-jpa依赖,springboot就会自动引入HikariCP的依赖了。
使用指定的数据库连接池 如果你需要使用指定的数据库连接池,那么你需要在application.properties中配置:spring.datasource.type
环境
开始使用 本次的配置中我们持久层使用mybatis,使用HikariCP作为数据库连接池。
引入依赖 1 2 3 4 5 6 7 8 9 10 11 12 13 14 15 16 17 18 19 20 21 22 23 24 25 26 27 28 29 30 31 32 <dependency > <groupId > org.springframework.boot</groupId > <artifactId > spring-boot-starter-jdbc</artifactId > </dependency > <dependency > <groupId > org.springframework.boot</groupId > <artifactId > spring-boot-starter-web</artifactId > <exclusions > <exclusion > <groupId > org.apache.tomcat</groupId > <artifactId > tomcat-jdbc</artifactId > </exclusion > </exclusions > </dependency > <dependency > <groupId > mysql</groupId > <artifactId > mysql-connector-java</artifactId > <version > 5.1.46</version > </dependency > <dependency > <groupId > org.mybatis.spring.boot</groupId > <artifactId > mybatis-spring-boot-starter</artifactId > <version > 1.3.2</version > </dependency > <dependency > <groupId > org.springframework.boot</groupId > <artifactId > spring-boot-starter-test</artifactId > <scope > test</scope > </dependency >
以上的依赖就足够了,前面介绍过,只需要导入spring-boot-starter-jdbc依赖springboot就默认使用Hikari作为数据库连接池了。
创建数据表 1 2 3 4 5 6 7 8 CREATE DATABASE mytest;CREATE TABLE t_user(INT NOT NULL PRIMARY KEY AUTO_INCREMENT,VARCHAR (255 ) NOT NULL ,password VARCHAR (255 ) NOT NULL ,VARCHAR (255 ) NOT NULL ENGINE =INNODB AUTO_INCREMENT=1000 DEFAULT CHARSET =utf8;
创建实体类 1 2 3 4 5 6 7 8 9 10 11 12 13 14 15 16 17 package com.winterchen.model;public class UserDomain private Integer userId;private String userName;private String password;private String phone;
创建Dao以及mapper映射 创建Dao类 创建一个dao的包,并且在这个包下创建一个UserDao
1 2 3 4 5 6 7 8 9 10 11 12 13 14 15 16 17 18 19 20 21 22 23 package com.winterchen.dao;import com.winterchen.model.UserDomain;import org.apache.ibatis.annotations.Mapper;import org.apache.ibatis.annotations.Param;import java.util.List;@Mapper public interface UserDao int insert (UserDomain record) void deleteUserById (@Param("userId" ) Integer userId)void updateUser (UserDomain userDomain) List<UserDomain> selectUsers () ;
注意:一定不要忘了使用@Mapper注解,如果没有这个注解,spring就无法扫描到这个类,导致项目启动报错。
创建Mapper映射 上一步我们创建dao数据库持久层类,由于本文使用的是xml映射的方式,所以我们需要创建一个xml映射文件。
在resources文件夹下新建一个文件夹mapper:
1 2 3 4 5 6 7 8 9 10 11 12 13 14 15 16 17 18 19 20 21 22 23 24 25 26 27 28 29 30 31 32 33 34 35 36 37 38 39 40 41 42 43 44 45 46 47 48 49 50 51 52 53 54 55 56 57 58 59 60 61 <?xml version="1.0" encoding="UTF-8" ?> <!DOCTYPE mapper PUBLIC "-//mybatis.org//DTD Mapper 3.0//EN" "http://mybatis.org/dtd/mybatis-3-mapper.dtd" > <mapper namespace ="com.winterchen.dao.UserDao" > <sql id ="BASE_TABLE" > </sql > <sql id ="BASE_COLUMN" > </sql > <insert id ="insert" parameterType ="com.winterchen.model.UserDomain" > <include refid ="BASE_TABLE" /> <trim prefix ="(" suffix =")" suffixOverrides ="," > <if test ="phone != null" > </if > </trim > <trim prefix ="VALUES(" suffix =")" suffixOverrides ="," > <if test ="phone != null" > </if > </trim > </insert > <delete id ="deleteUserById" > <include refid ="BASE_TABLE" /> </delete > <update id ="updateUser" parameterType ="com.winterchen.model.UserDomain" > <include refid ="BASE_TABLE" /> <set > <if test ="userName != null" > </if > <if test ="password != null" > </if > <if test ="phone != null" > </if > </set > <where > </where > </update > <select id ="selectUsers" resultType ="com.winterchen.model.UserDomain" > <include refid ="BASE_COLUMN" /> <include refid ="BASE_TABLE" /> </select > </mapper >
注意点: 请将namespace="com.winterchen.dao.UserDao"改为你自己项目Dao的路径,以及下面方法的一些路径都要改为你自己项目的相关路径。
配置 1 2 3 4 5 6 7 8 9 10 11 12 13 14 15 16 17 18 19 20 21 22 23 24 25 26 27 28 server.port=8080
Service层 1 2 3 4 5 6 7 8 9 10 11 12 13 14 15 16 17 18 19 20 package com.winterchen.service;import com.winterchen.model.UserDomain;import java.util.List;public interface UserService int insert (UserDomain record) void deleteUserById (Integer userId) void updateUser (UserDomain userDomain) List<UserDomain> selectUsers () ;
Service 实现层 1 2 3 4 5 6 7 8 9 10 11 12 13 14 15 16 17 18 19 20 21 22 23 24 25 26 27 28 29 30 31 32 33 34 35 36 37 38 39 package com.winterchen.service.impl;import com.winterchen.dao.UserDao;import com.winterchen.model.UserDomain;import com.winterchen.service.UserService;import org.springframework.beans.factory.annotation.Autowired;import org.springframework.stereotype.Service;import java.util.List;@Service public class UserServiceImpl implements UserService @Autowired private UserDao userDao;@Override public int insert (UserDomain record) return userDao.insert(record);@Override public void deleteUserById (Integer userId) @Override public void updateUser (UserDomain userDomain) @Override public List<UserDomain> selectUsers () return userDao.selectUsers();
Controller层 1 2 3 4 5 6 7 8 9 10 11 12 13 14 15 16 17 18 19 20 21 22 23 24 25 26 27 28 29 30 31 32 33 34 35 36 37 38 39 40 41 42 43 44 45 46 47 48 49 50 51 52 53 54 55 56 57 58 59 60 61 62 63 64 65 66 67 package com.winterchen.controller;import com.winterchen.model.UserDomain;import com.winterchen.service.UserService;import org.springframework.beans.factory.annotation.Autowired;import org.springframework.http.ResponseEntity;import org.springframework.web.bind.annotation.*;@RestController @RequestMapping ("/user" )public class UserController @Autowired private UserService userService;@PostMapping ("" )public ResponseEntity addUser ( @RequestParam(value = "userName" , required = true ) String userName, @RequestParam (value = "password" , required = true ) String password, @RequestParam (value = "phone" , required = false ) String phone ) {new UserDomain();return ResponseEntity.ok("添加成功" );@DeleteMapping ("" )public ResponseEntity deleteUser (@RequestParam(value = "userId" , required = true ) Integer userId)return ResponseEntity.ok("删除成功" );@PutMapping ("" )public ResponseEntity updateUser ( @RequestParam(value = "userId" , required = true ) Integer userId, @RequestParam (value = "userName" , required = false ) String userName, @RequestParam (value = "password" , required = false ) String password, @RequestParam (value = "phone" , required = false ) String phone ) {new UserDomain();return ResponseEntity.ok("更新成功" );@GetMapping ("" )public ResponseEntity getUsers () return ResponseEntity.ok(userService.selectUsers());
强行科普一下:
启动类 1 2 3 4 5 6 7 8 9 10 11 12 package com.winterchen;import org.springframework.boot.SpringApplication;import org.springframework.boot.autoconfigure.SpringBootApplication;@SpringBootApplication public class SpringBootMybatisHikaricpApplication public static void main (String[] args) .class , args ) ;
最终项目结构 目录结构
启动 启动项目启动类
1
2
3
4
5
6
2018-07-25 15:25:42.970 INFO 22602 --- [ main] o.s.w.s.handler.SimpleUrlHandlerMapping : Mapped URL path [/**] onto handler of type [class org.springframework.web.servlet.resource.ResourceHttpRequestHandler]
这样的输出表示项目启动成功了!!如果遇到报错启动不了,请回头看看是不是有些地方没有注意到。
测试 项目成功启动了,那么可以开始测试了
推荐使用一个强大的http请求工具:Postman
添加 添加
删除 删除
更新 更新
查找 查找
最后
在编程的路上肯定会遇到很多的bug,程序员就是要不断的和bug作斗争,加油,愿你成为真正的大牛。有机会讲讲Hikari如何使用多数据源。
源码地址:戳这里
springboot技术交流群:681513531
个人博客:https://winterchen.com

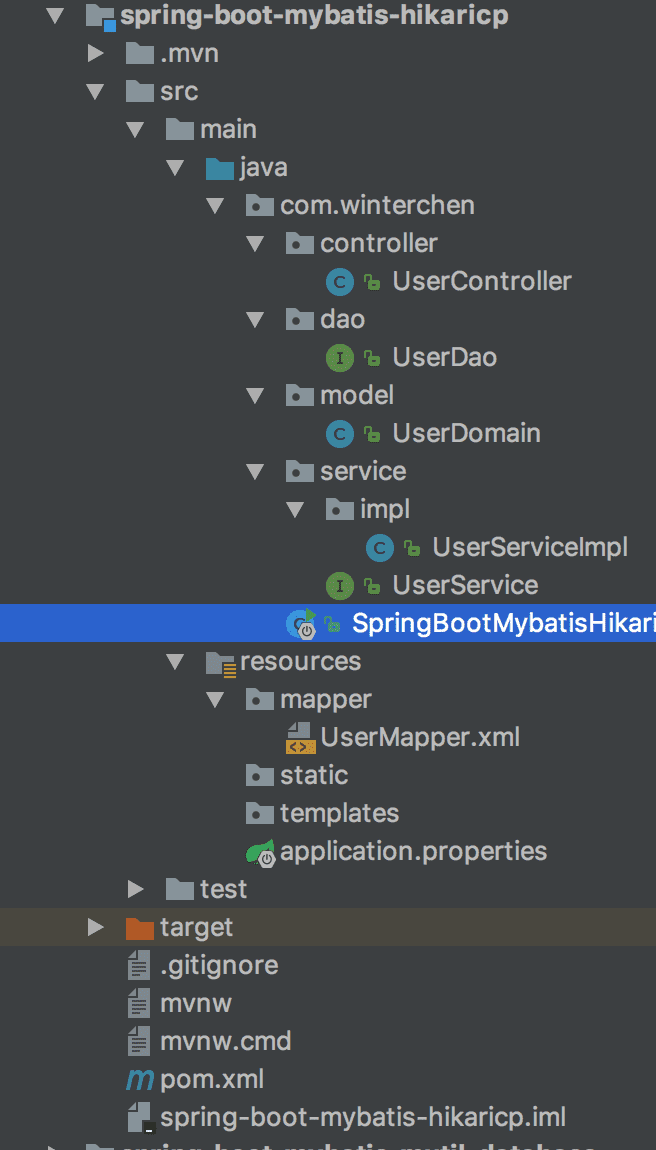 目录结构
目录结构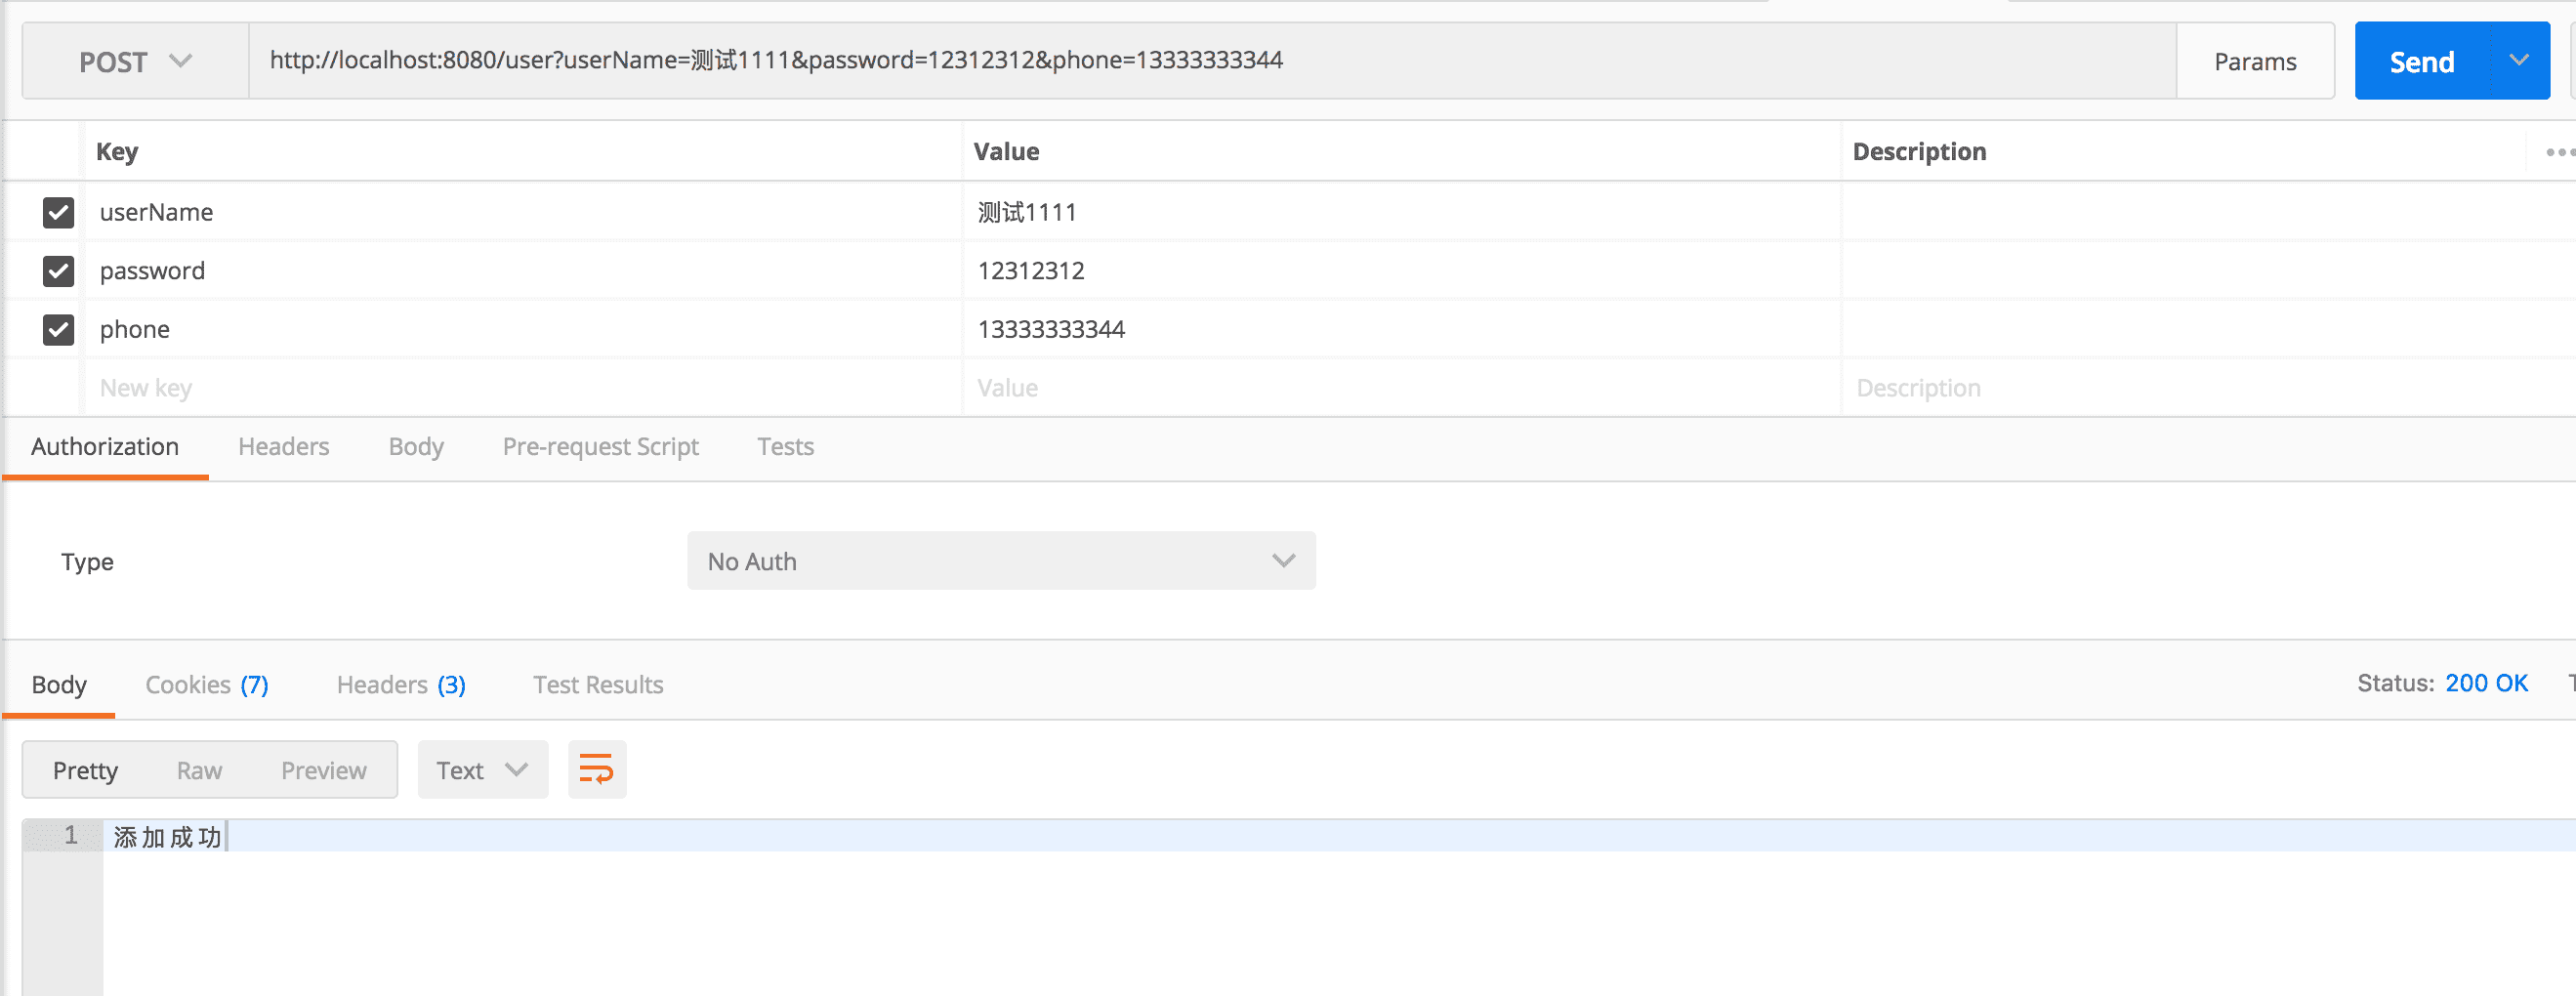 添加
添加 删除
删除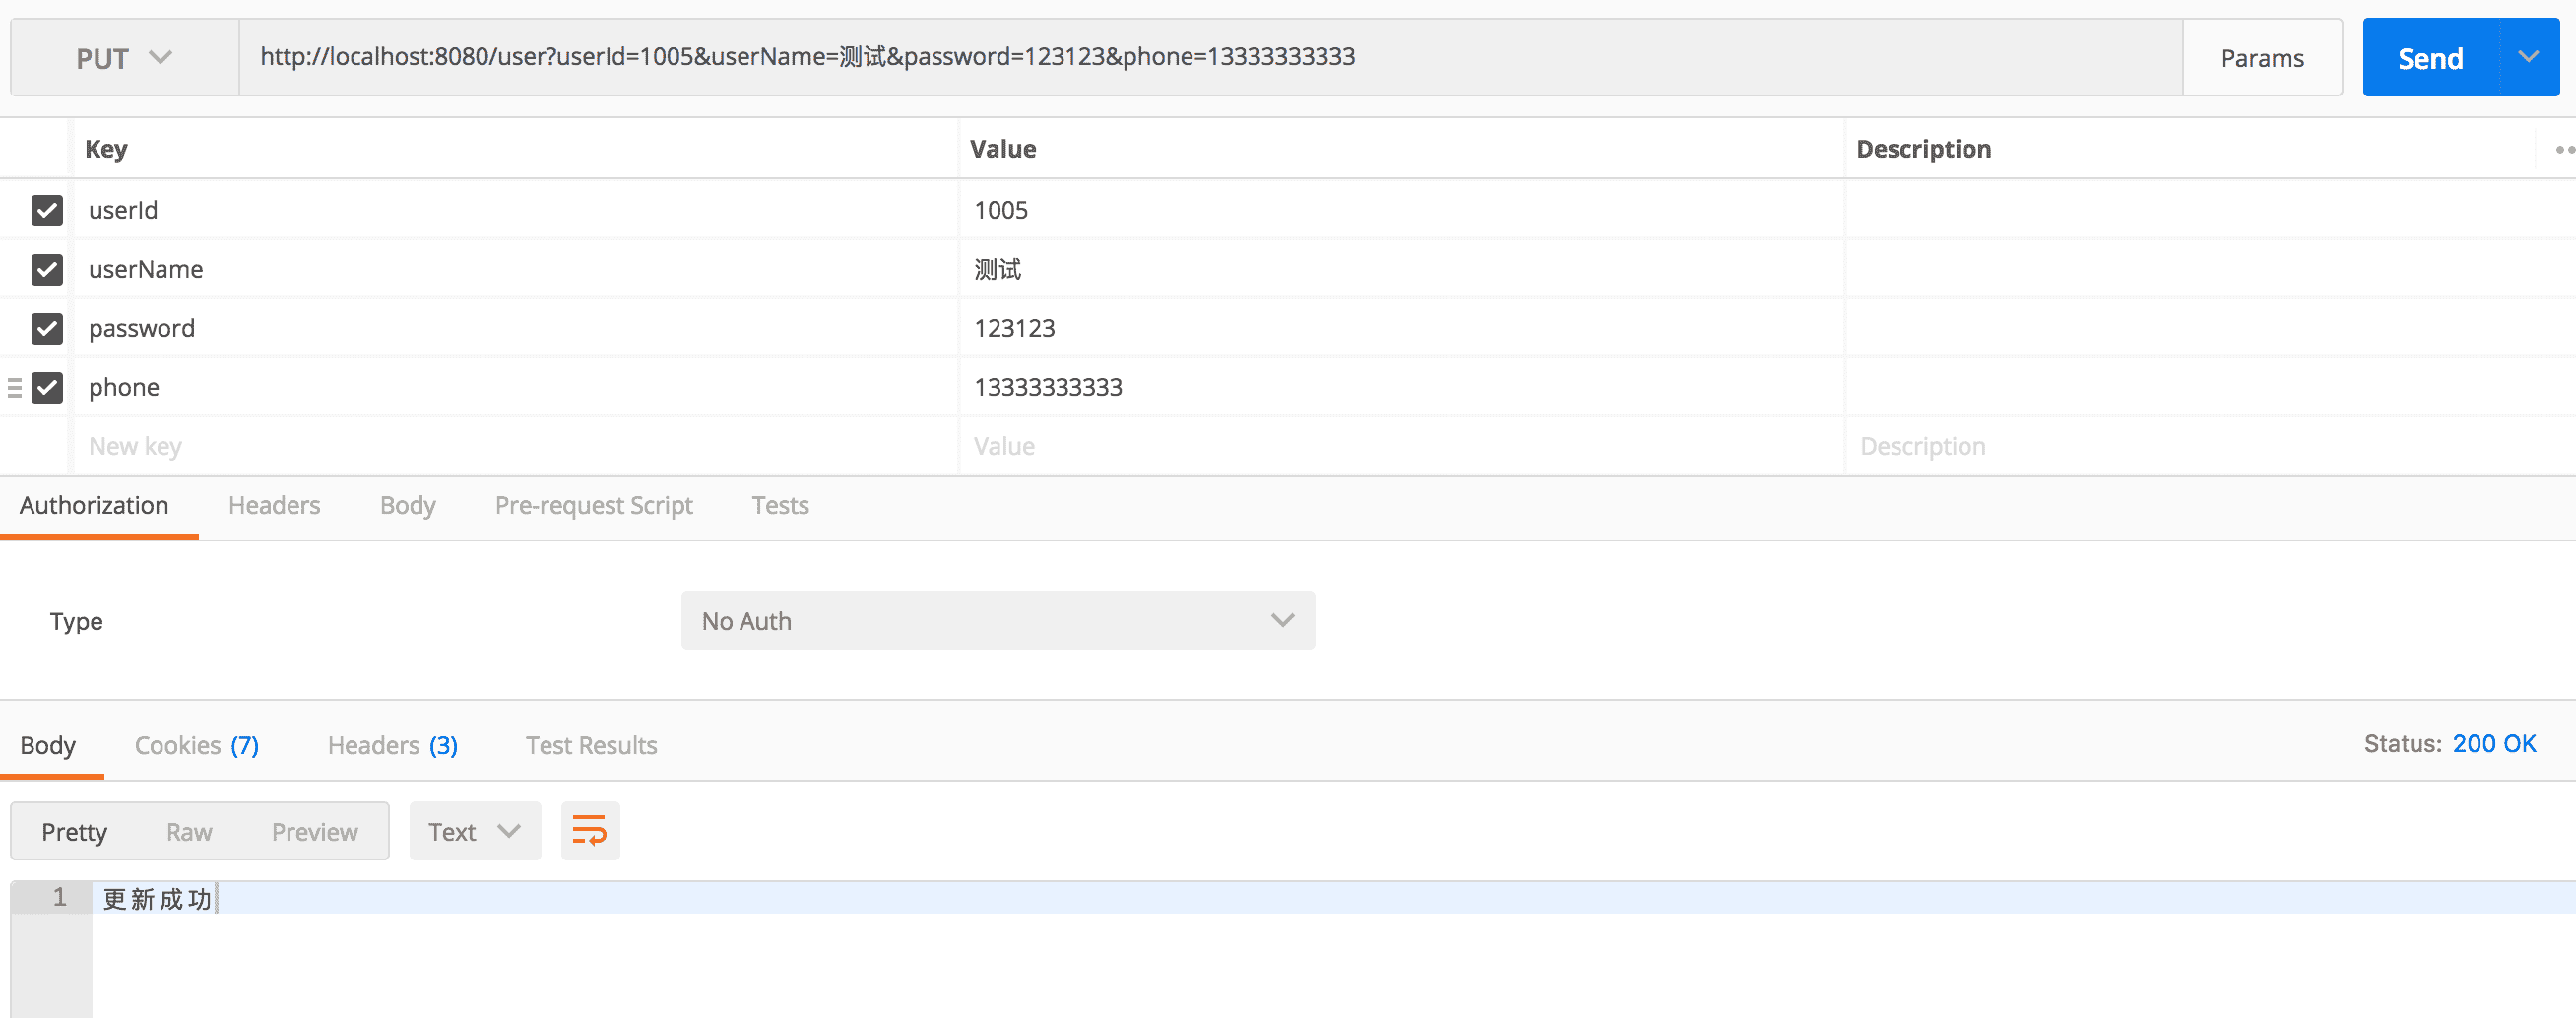 更新
更新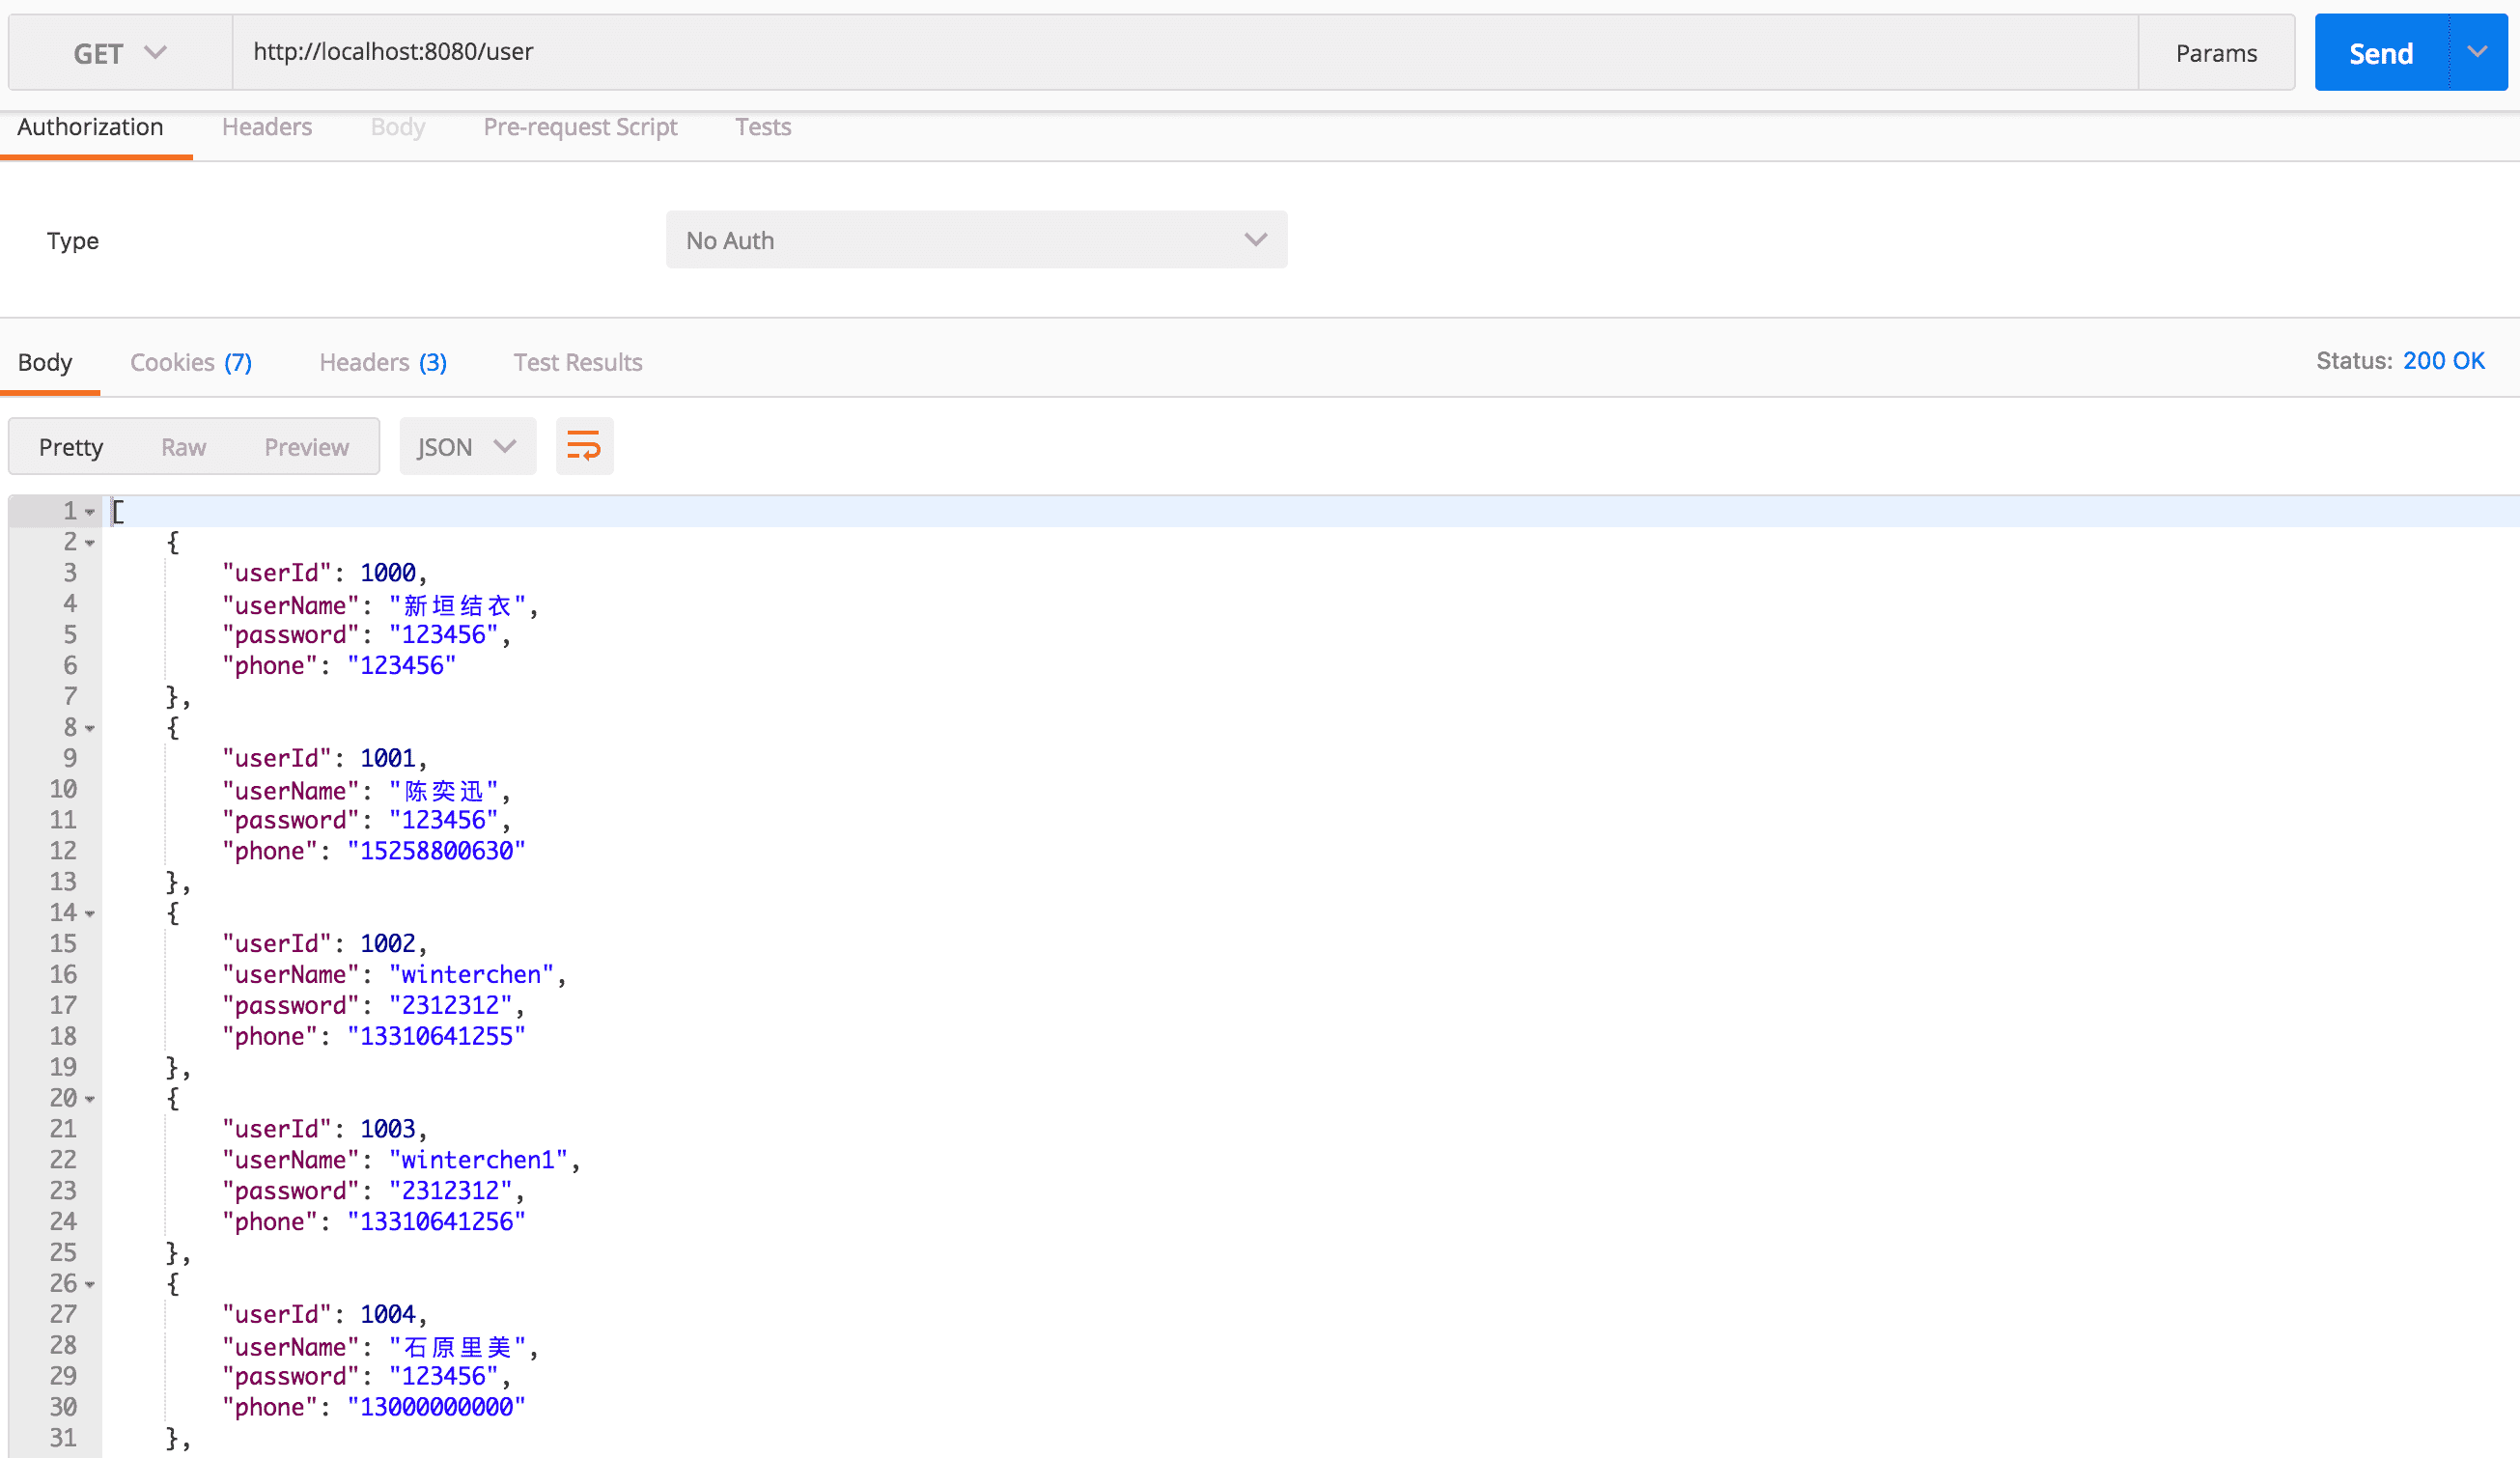 查找
查找